How to Draw Mr. Fun Computer Phase 3 Step by Step | Incredibox Sprunki

Do you like the characters from Incredibox Sprunki? In this tutorial, you’ll learn how to draw Mr. Fun Computer in his Phase 3 form, one of the most original and eye-catching characters from the latest chapter of the game. Follow the video and the written step-by-step guide with images and simple explanations. Perfect for kids, students, and beginner artists!
🎥 Watch the Full Step-by-Step Video
📹 Click the video below to follow along and draw with us:
✏️ Materials Needed
- A blank sheet of paper or sketchbook
- Pencil and eraser
- Black pen or marker for outlining
- Colored pencils or markers
- Creativity and enthusiasm 😊
🖌️ Step-by-Step Guide to Drawing Mr. Fun Computer Phase 3
Step 1: Draw the shape of Mr. Fun's face
Start with a face that looks a bit like the character from Scream. First, draw the rectangle that covers his eyes and a large open mouth. Then add the outline of the head.

Step 2: Draw the monitor
Next, draw the monitor surrounding Mr. Fun’s face. Sketch the screen and the base — it should look like a classic computer monitor.

Step 3: Add the desk
Now draw the desk where Mr. Fun Computer is resting. This helps complete the scene and gives the character a setting.

Step 4: Outline your drawing
Once your sketch is complete, outline it using a black pen or marker. This step helps clean up your lines and makes the drawing clearer.

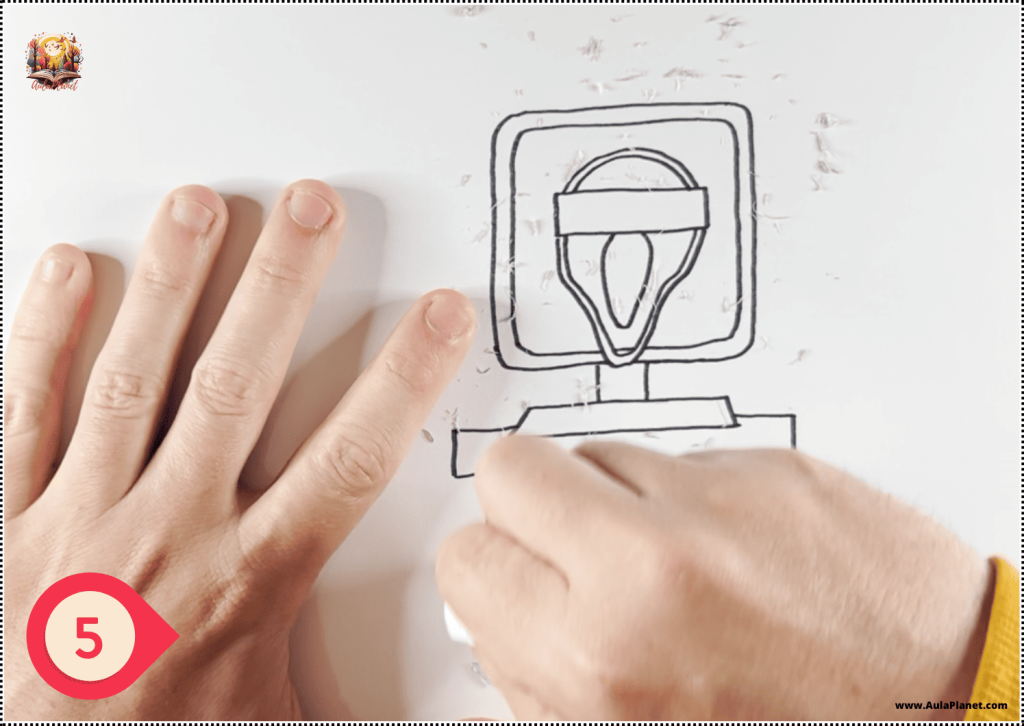
Step 5: Erase the pencil
After inking, carefully erase all the pencil lines. Make sure the paper is clean before you begin coloring.
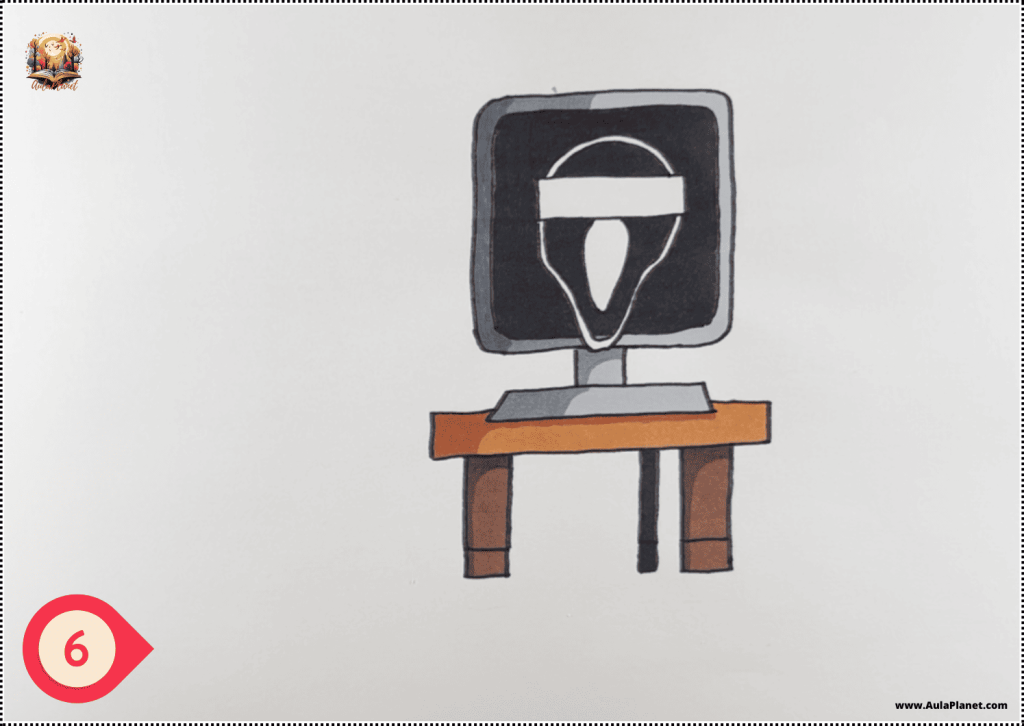
Step 6: Color your drawing
Finally, color in Mr. Fun Computer Phase 3. Start with the base colors and then add shadows to give it more depth and a polished finish.
🎉 You've completed your drawing of Mr. Fun Computer Phase 3!
Great job! Now you have your own drawing of Mr. Fun Computer in his Phase 3 form from Incredibox Sprunki. You can share it with friends, create your own versions with different colors, or start building your own character collection.
📲 Want to review the steps or watch the process again?
👉 Click here to watch the full video on YouTube
🎨 Love the Sprunkis? Grab your coloring pages!
Besides drawing, you can also color your favorite Incredibox Sprunki characters. We've created a special collection of printable coloring pages—perfect for home or classroom use.
🎨 View Sprunki Coloring Pages
Leave a Reply