How to Draw Brud Phase 3 Step by Step | Incredibox Sprunki

Are you a fan of Incredibox Sprunki? In this tutorial, you'll learn how to draw Brud in Phase 3, one of the most detailed and striking characters from the Sprunki universe. Watch the video and follow the written steps to draw him easily. Perfect for kids, beginners, and young artists!
🎥 Watch the full step-by-step video
📹 Click the video below and follow along to draw Brud Phase 3:
✏️ Materials You’ll Need
- Drawing paper or sketchbook
- Pencil and eraser
- Black pen or marker for outlining
- Colored pencils, markers, or paints
- Creativity and a smile 😊
✍️ Step-by-Step Guide to Drawing Brud Phase 3
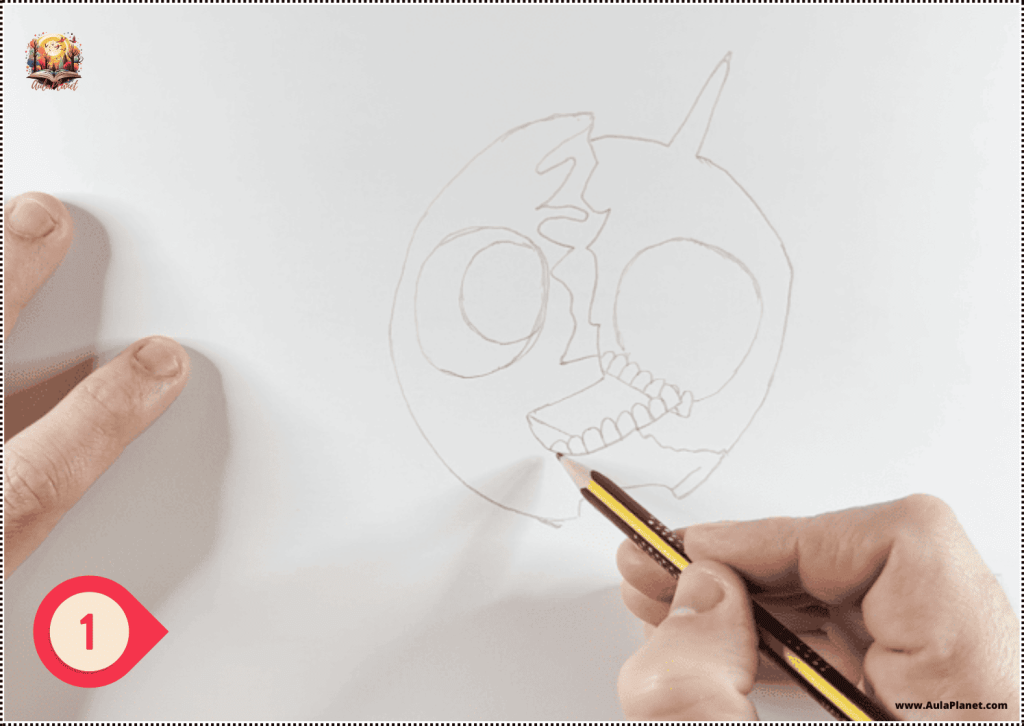
🧠 Step 1: Start with the head
Begin by drawing the left side of the head — this will be your guide. Then sketch the skull on the right side (a bit smaller), and finish by adding the eyes and teeth.
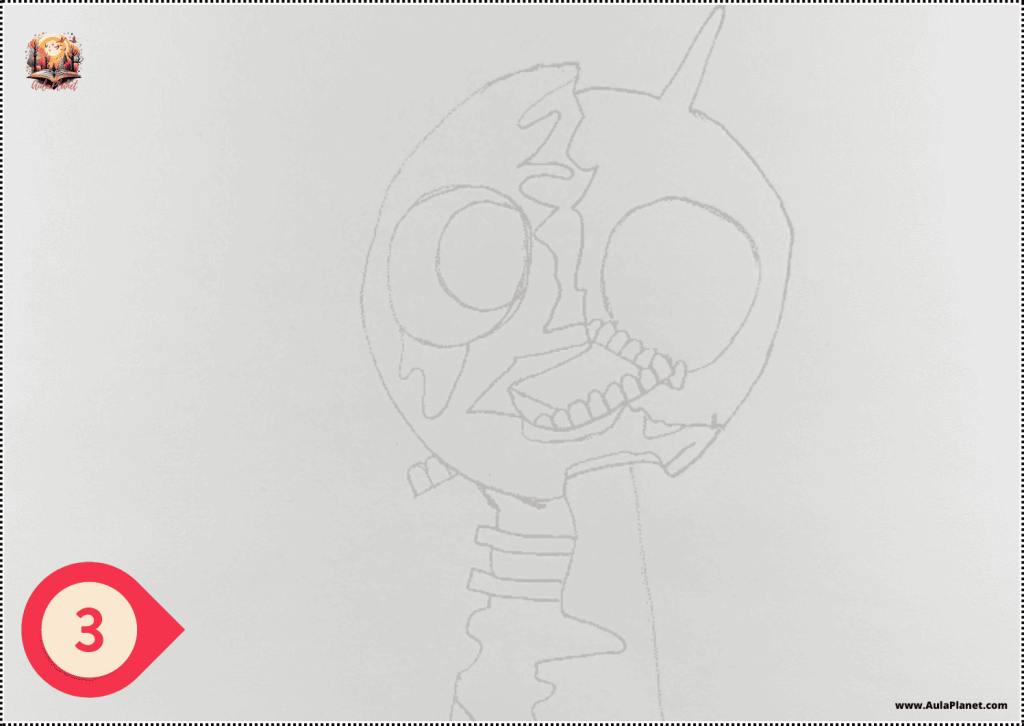
🦴 Step 2: Draw the torso
Now move on to the lower part of the body. Start by outlining the shape, then add the two exposed ribs.

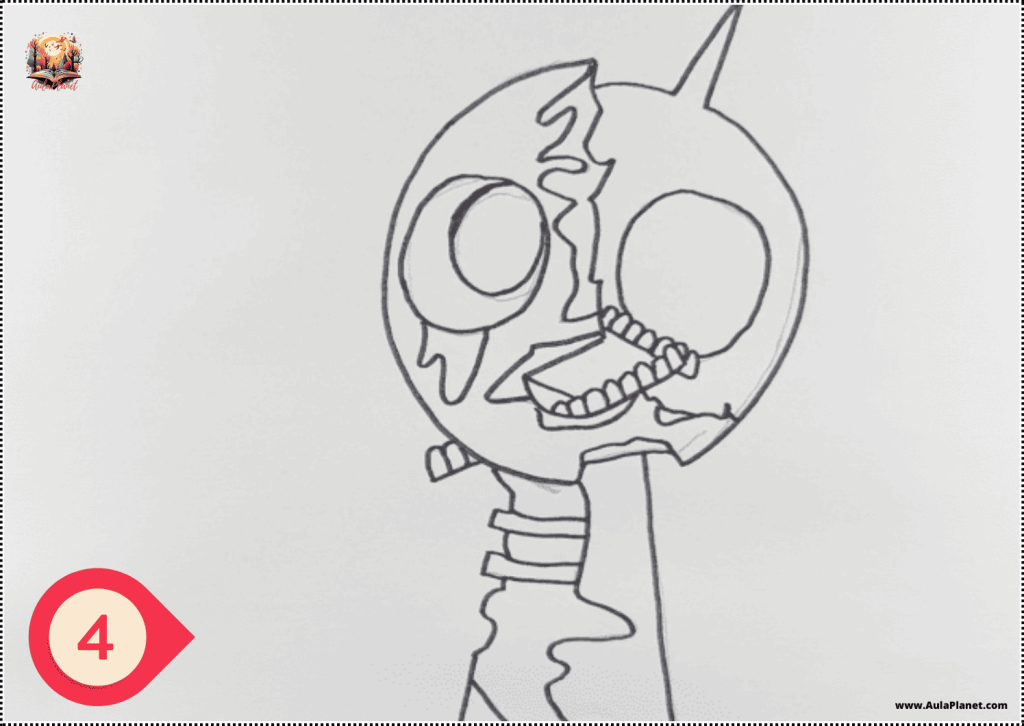
💉 Step 3: Add the details
Draw all the final details, such as blood and textures that complete Brud's unique look.
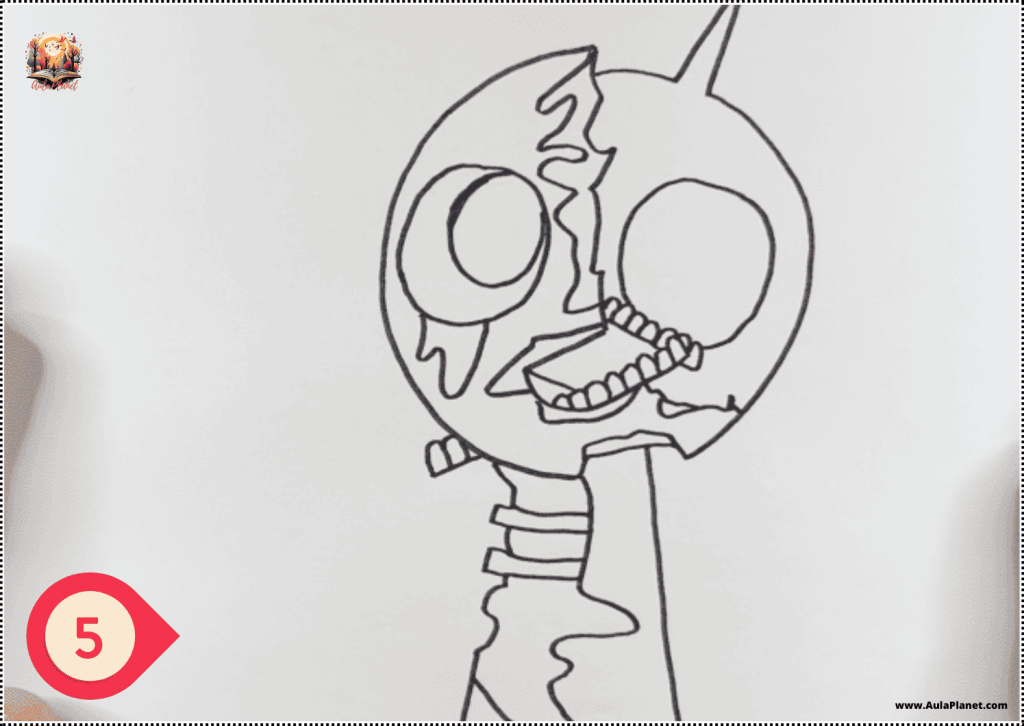
✒️ Step 4: Inking
Once the sketch is ready, trace the important lines with a black pen or marker. Clean up any shaky lines to refine your drawing.
🧽 Step 5: Erase the pencil
After the ink dries, gently erase the pencil sketch. Make sure no lines are left before moving on to color.
🎨 Step 6: Coloring
Time to bring Brud to life! Start with the base colors for Phase 3 and then add shadows for a more polished and professional result.
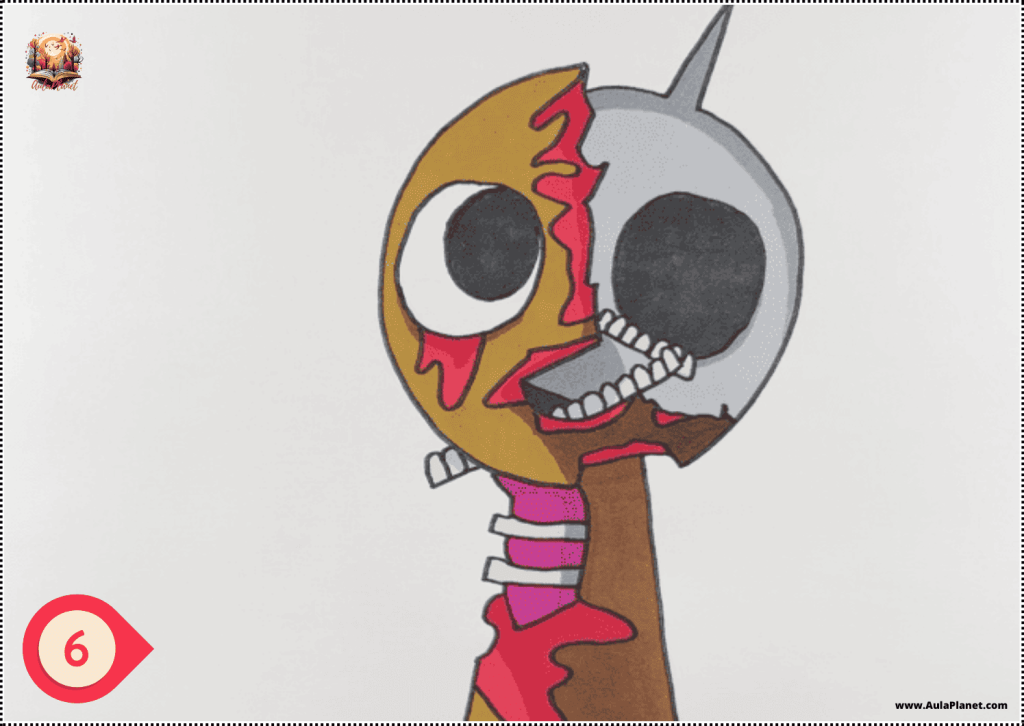
🎉 You’ve finished your drawing of Brud Phase 3!
Great job! Now you have your very own drawing of Brud Phase 3 from Incredibox Sprunki. You can share it with friends, try new colors, or keep practicing with other characters!
📲 Want to review the steps or rewatch the process?
👉 Click here to watch the full video on YouTube
🎨 Love Sprunkis? Download their coloring pages!
Besides drawing them, you can also color your favorite Incredibox Sprunki characters. We’ve created a special printable collection, perfect for home or school.
🎨 View Sprunki Coloring Pages
Leave a Reply