How to Draw Gummy Bear Phase 3 Step by Step | Sprunki OC
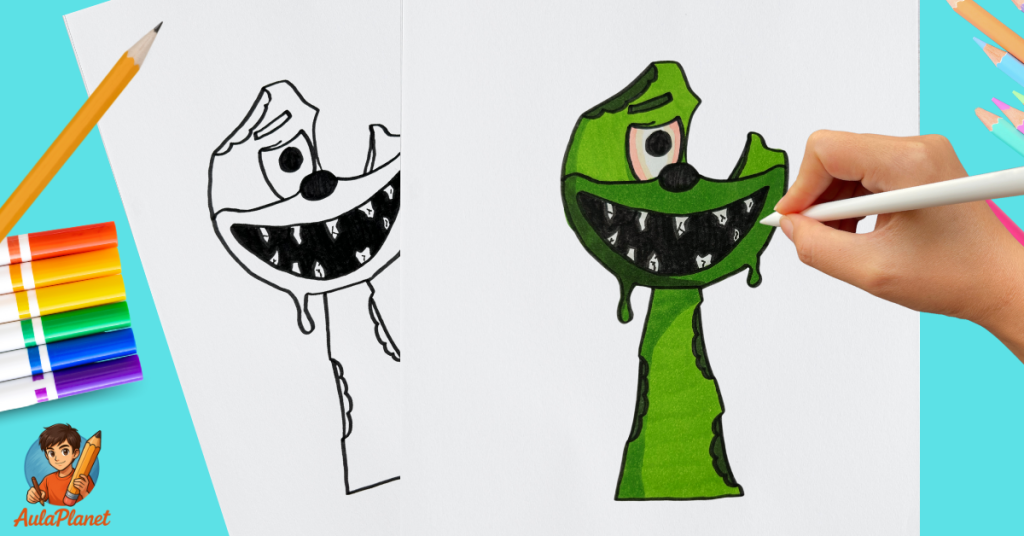
Today you’ll learn how to draw Gummy Bear Phase 3!
This character is part of the Sprunki OC universe, and in this third phase, it becomes even more sinister. In this tutorial, I’ll guide you step by step so you can draw it easily, even if you’re just starting out. Get your materials ready and let’s begin! 🐻✏️
📹 Watch the step-by-step video
Before starting the tutorial, I recommend watching the full video on our YouTube channel. That way, you’ll be able to follow each stroke more easily and create an amazing drawing. Hit play and go at your own pace!
🖌️ Materials you’ll need
- Paper or sketchbook
- Pencil
- Eraser
- Black fineliner for inking
- Colors (can be markers, colored pencils, or whatever you like best)
📝 How to Draw Gummy Bear Phase 3 Step by Step
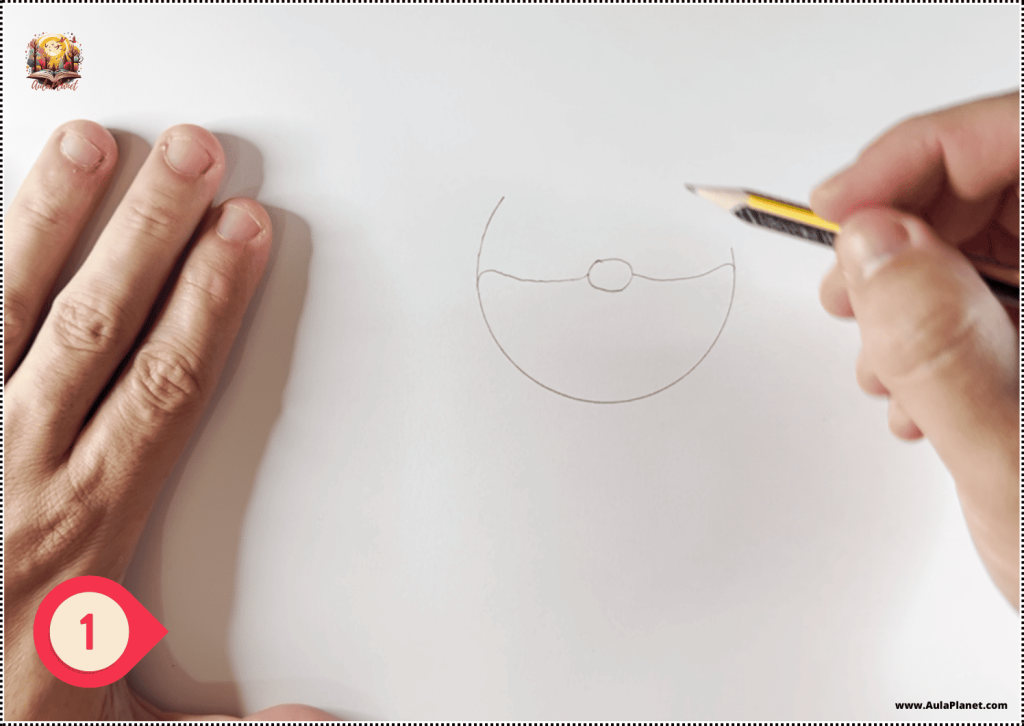
✅ Step 1: Head
We start by drawing a circle that’s open at the top. You can do this freehand or use a round object as a guide. In the center of the circle, draw the nose, which will serve as a reference point. Then draw two wavy horizontal lines on either side of the nose to define the outline of the face.
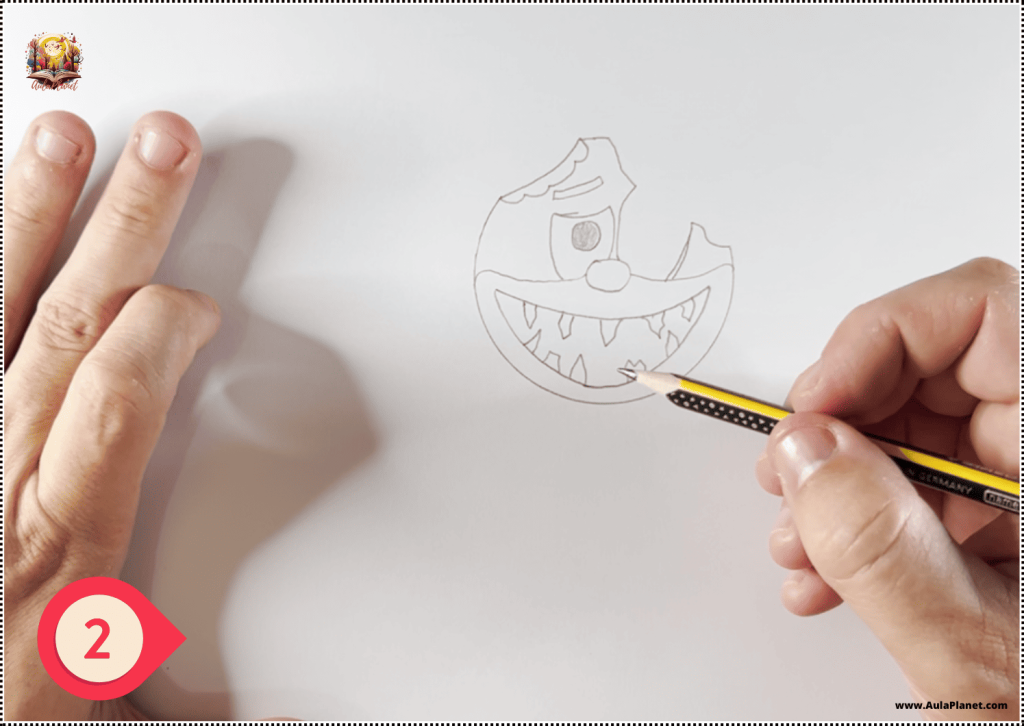
✅ Step 2: Elements of the Head
Now let’s add the details: draw the single visible eye and complete the top with the large bite mark that characterizes this phase. Finish with the jagged line that defines the edge of the head.
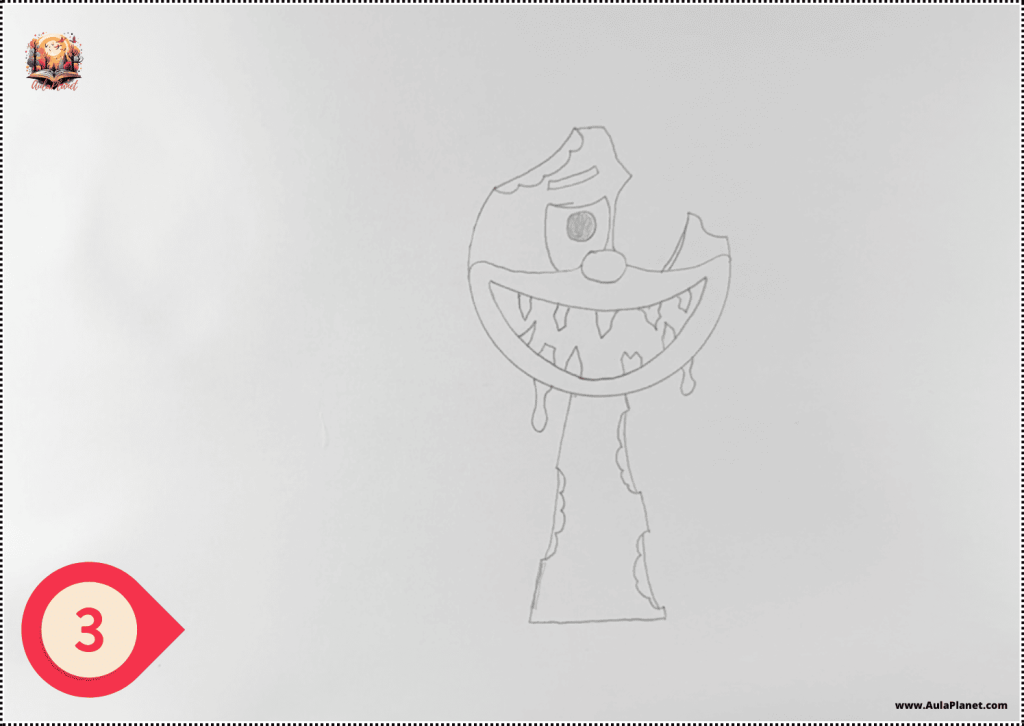
✅ Step 3: Body and Details
Below the head, draw a kind of drool that hangs down, giving a grotesque touch to the character. Then draw the classic Sprunki torso, including three bite marks on the sides, just like we saw in Phase 2.
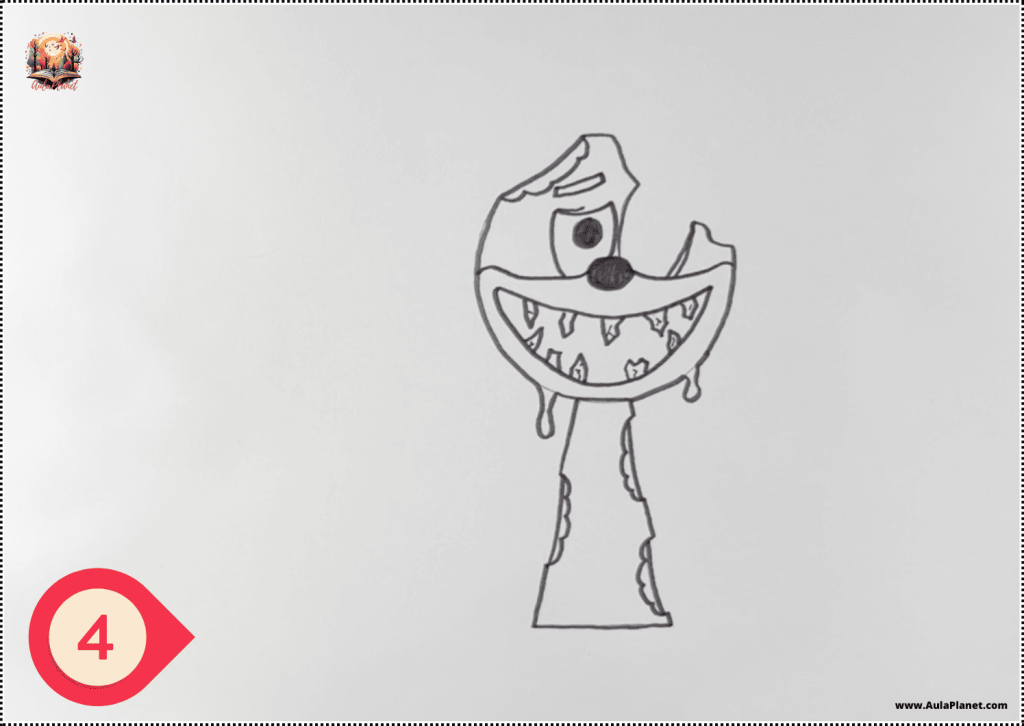
✅ Step 4: Inking
With the entire sketch ready, it’s time to ink. Carefully trace each line with a black fineliner to define the outlines and prepare it for coloring.
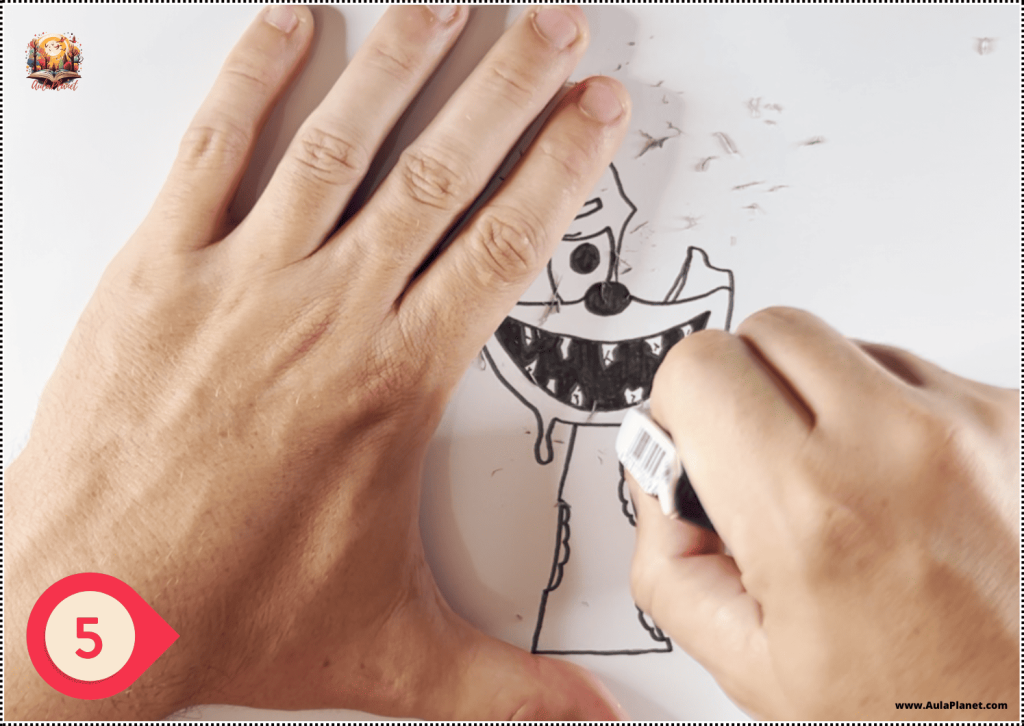
✅ Step 5: Erase Pencil Lines
Once the ink is completely dry, gently erase all pencil marks. This will leave you with a clean drawing ready for color.
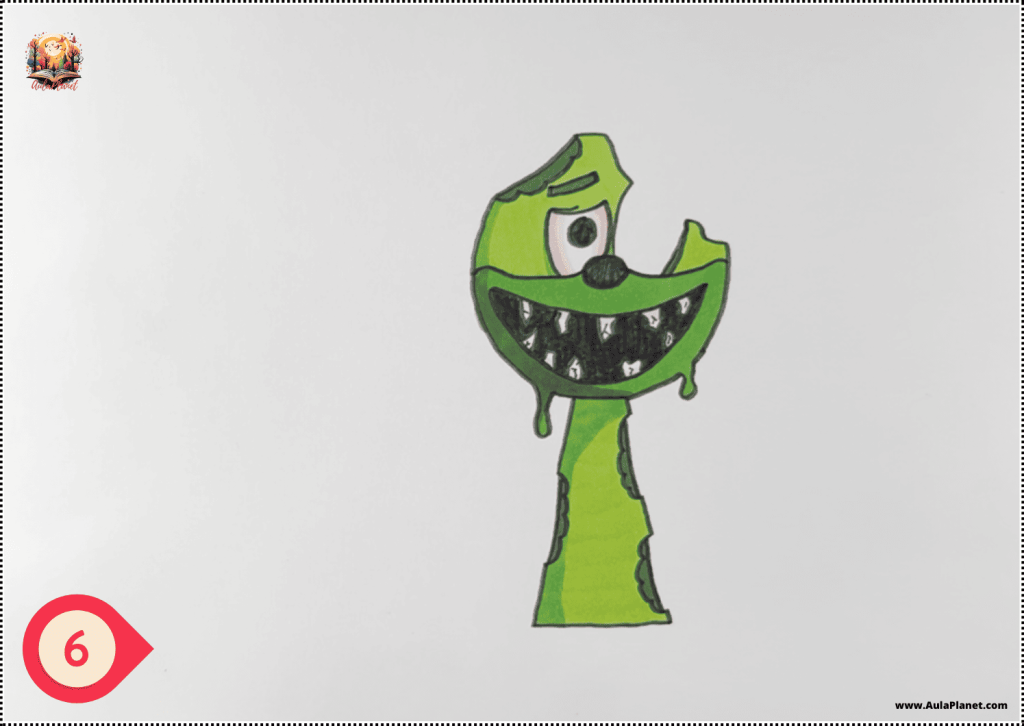
✅ Step 6: Coloring
Bring your character to life by applying the characteristic base color for this phase, then add shadows, highlights, and gradients for a more expressive and polished finish.
🎉 You’ve Finished Your Gummy Bear Phase 3 Drawing!
If you need to review any steps, feel free to rewatch the full video on our channel. Keep practicing and have fun drawing!
🎨 Want to Color More Characters?
Visit our Sprunki coloring page and download your favorites to print or color online.
❓ Frequently Asked Questions About Drawing Gummy Bear Phase 3
What materials do I need to draw it?
You’ll need a sheet of paper, a pencil, an eraser, a black fineliner for inking, and colors to bring Gummy Bear Phase 3 to life. You can also use a ruler or a cup to draw the initial circle.
Is this drawing suitable for beginners?
Yes, this tutorial is designed for all skill levels. We guide you step by step so you can follow along easily, even if you’re just starting out.
Where can I watch the full tutorial video?
We’ve embedded the video directly on this page, and you can also watch it on our YouTube channel. Don’t miss it!
Are there more Sprunki OC characters to draw?
Of course! In our Sprunki OC character section, you’ll find plenty of other step-by-step tutorials to keep practicing and improving your drawings.
Leave a Reply